

Beginner's Checklist: What You Actually Need to Start Wire Jewelry
Walk into any bead shop or scroll through a jewellery supplier's website and you will quickly meet the same problem: everything looks necessary. Ten types of pliers, forty colours of wire, a wall of loose stones. The honest truth is that you can make a great deal of wire jewelry with a small, sensible kit that fits in one box. The rest can wait until a specific project demands it.
What follows is the kit to buy first. Essentials are listed plainly; anything optional is marked as such so you can skip it without guilt.
The Three Pliers You Genuinely Need
Wire work is mostly about bending, cutting and gripping, and three tools cover almost all of it.
- Round-nose pliers. The tapered jaws form loops and eye pins. Buy a pair with jaws that taper smoothly to a fine tip, with no ridges that would mark the wire. This is the tool you will reach for most.
- Chain-nose pliers. Flat inner jaws for gripping, straightening and tucking wire ends. Look for a pair with a spring and comfortable handles, because you will hold them for long stretches.
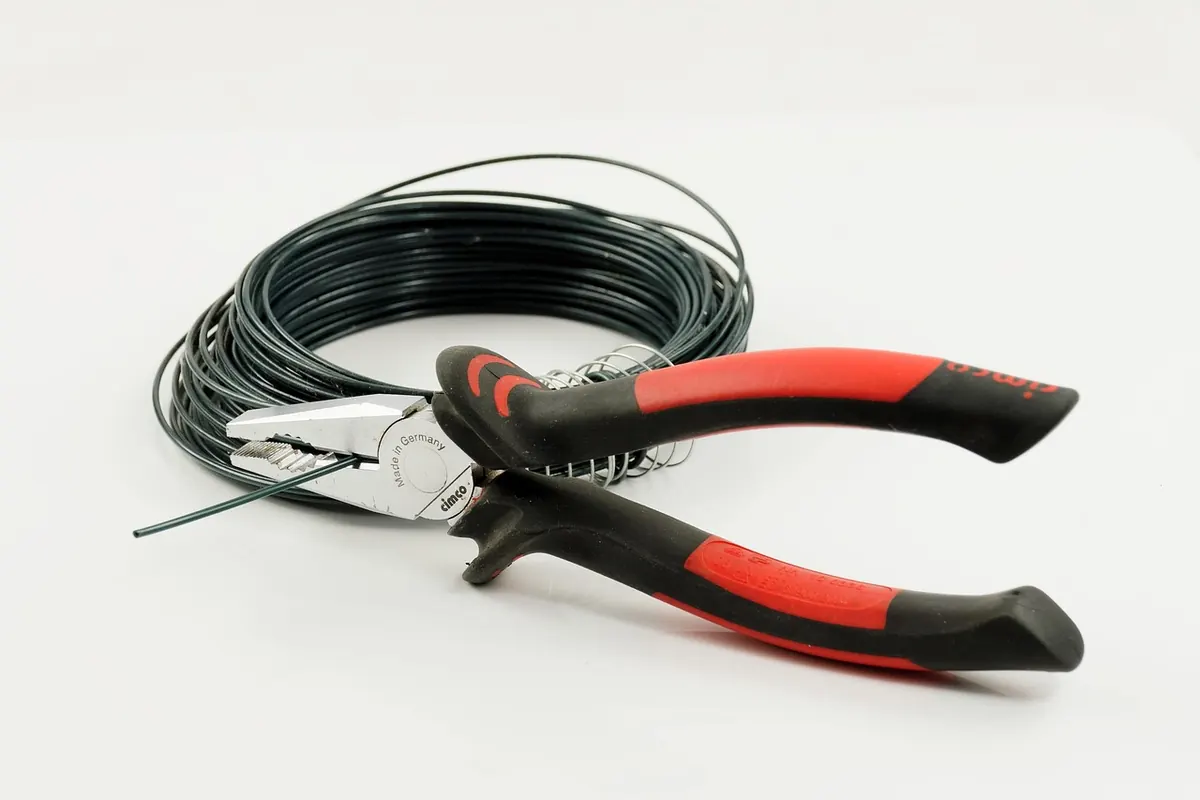
- Flush cutters. For cutting wire cleanly. A flush cut leaves one flat end and one sharp angled end, so always cut with the flat side toward the piece you are keeping. Keep this pair for wire only; cutting beading wire or memory wire will nick the blades.
If you want to add a fourth straight away, flat-nose pliers are useful for holding and flattening, but they are optional at the start.
Wire: Which Types and Which Gauges
Gauge numbers run backwards: the higher the number, the thinner the wire. For most beginner projects, work between 18 and 26 gauge.
Dead-soft wire bends easily and is the right choice while you are learning. Half-hard holds its shape better once formed and suits clasps, jump rings and anything that must keep its structure. Skip full-hard for now; it is stubborn in the hand and unforgiving of mistakes.
On metal, start with copper or brass rather than silver. Both are inexpensive, easy to bend and pleasant to practise with, and they polish up warmly. When your loops are consistently round and your wraps tidy, move up to sterling silver or gold-filled. Gold-filled is a layer of gold bonded to a base metal; it wears far better than gold-plated, which can flake, but it costs more, so save it for pieces you are proud of.
Buy a small spool of each of these to begin with:
- 20 gauge dead-soft round wire for structural work such as bangles and clasps.
- 24 gauge dead-soft round wire for wrapping and linking.
- 26 or 28 gauge for fine wrapping around stones and beads.
- 18 gauge half-hard round wire if you plan to make your own jump rings.
One more thing worth knowing before you buy: wire comes in round, half-round and square profiles. Round does everything a beginner needs. Square and half-round are decorative choices you can explore later.
Stones and Beads to Practise With
Choose beads with holes wide enough for your wire; a 24 gauge wire passes through most standard beads, while 20 gauge needs a slightly larger hole. Irregular shapes are harder to wrap neatly than round ones, so begin with smooth rounds, ovals and coins.
For budget practice, ordinary glass beads, wooden beads and tumbled stones are ideal. As your confidence grows, look at faceted gemstone beads, which catch light beautifully but need a little more care because sharp edges can abrade thin wire. Briolette beads, drilled top to bottom, make lovely pendants and are a good second project once you can form a neat wrapped loop.
If you want to set a cabochon or a pointed crystal in a wire cage, that is a different technique from beading, and it is worth learning separately rather than guessing.
Small Tools and Consumables That Matter
These are inexpensive and quietly make the difference between frustrating and enjoyable work.
- A nylon-jaw or flat-nose plier for straightening. Optional, but helpful if you want a professional finish on wire that has kinked.
- A jeweller's file or needle file. Essential. Wire ends are sharp and can scratch skin and snag clothing. Two or three strokes to soften every cut end is the mark of careful work.
- A bead mat or a shallow tray with a lip. Beads roll. A piece of felt or a small tray stops them disappearing under the sofa.
- A ruler or small steel rule. For consistent loop sizes and jump rings.
- Masking tape or a marker. Handy for labelling spools with their gauge so you are not guessing later.
- A polishing cloth. Copper and brass tarnish; a quick rub restores shine. Store finished pieces in a small zip bag to slow tarnish down.
- Safety glasses. Optional for most work, but a sensible habit when cutting thicker wire, as cut ends can fly.
Optional Extras Worth Considering Later
None of these are needed to begin. They become useful once you know what you like making.
- A bench block and hammer. For hardening and flattening wire; a nylon or rawhide mallet is gentler on metal than a metal hammer.
- A ring mandrel. For consistent ring and bangle sizes.
- A pin vice or hand drill. For enlarging bead holes.
- Liver of sulphur. For antiquing copper and silver; use it ventilated and follow the maker's instructions.
- Wire straighteners. A pair of nylon-lined jaws that pull kinks out of a length of wire.
- A storage box with compartments. Not glamorous, but the single best way to stop your kit becoming a tangle.
A Simple Way to Start Shopping
If you would rather not buy everything at once, work in stages. Buy the three core pliers, a file, one spool of 20 gauge copper and one of 24 gauge copper, a handful of smooth glass or stone beads, and a tray to work over. That is enough for wrapped loops, linked bracelets, simple pendants and your first pair of earrings.
Then make something. Make three of it. You will quickly notice what is missing, and what you actually reach for. Buy that tool next, not the one that looked impressive on a shelf.
Two practical notes. Set a modest budget and stick to it for the first couple of months; the hobby scales with you, and there is no need to buy specialist tools for techniques you have not tried yet. And if you are making pieces to sell, check the relevant rules on metal content and labelling for your market before you list anything, as requirements vary by country and by material.
Finally, keep your cutters away from anything but wire, wipe your pliers after handling brass, and put a small piece of tape on each spool to mark the gauge. Small habits, tidy results.
Photo: Ralphs_Fotos / Pixabay