


Wire-Wrapped Rings for Absolute Beginners: A 30-Minute Project
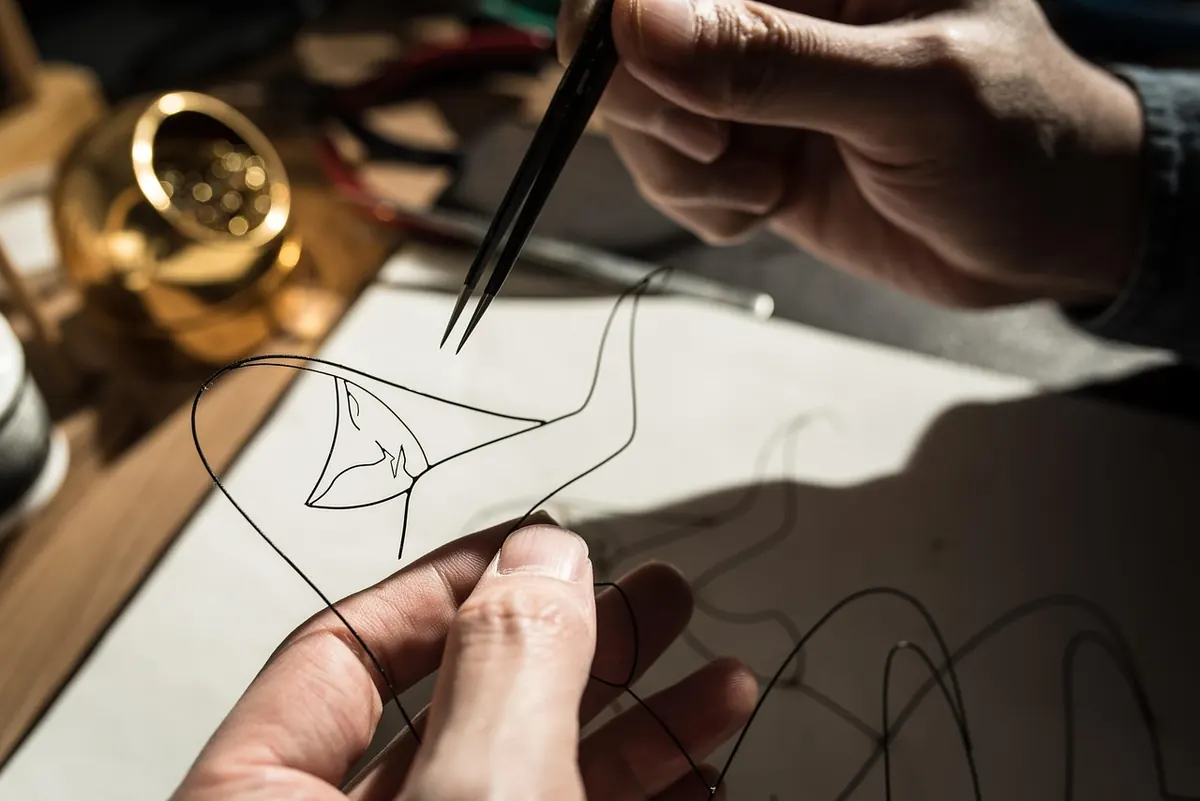
Wire-wrapped rings have a reputation for being fiddly, and the intricate ones are. The beginner version isn't. One bead, one length of wire, one repeated motion — and you end up with something you'd actually wear rather than push to the back of a drawer. Set aside half an hour. Your first attempt might take longer; your third will take twenty minutes and you'll stop checking the instructions.
What You Need Before You Start
You can make this ring with four tools and two materials. Nothing here is specialist, and most of it is worth buying once rather than improvising.
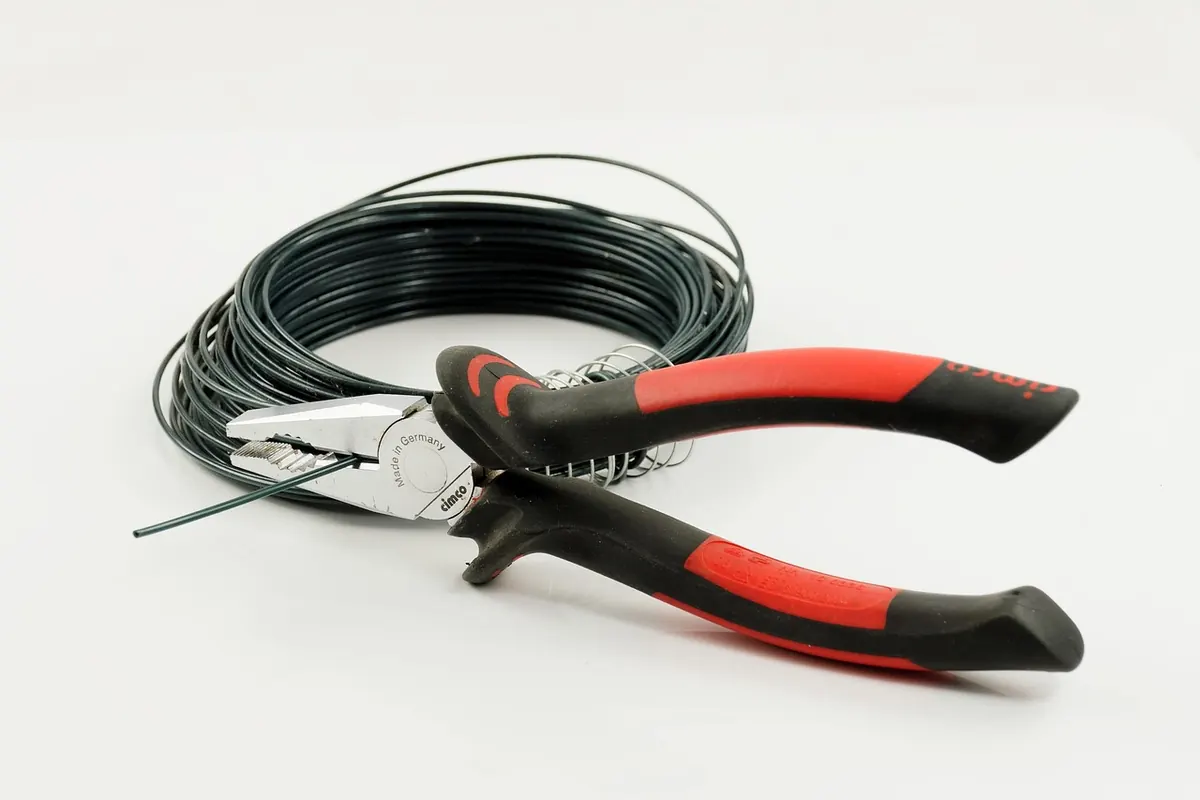
- Flush cutters — for cutting wire cleanly. Household scissors will notch and ruin themselves.
- Chain-nose pliers — flat, smooth jaws for gripping, pressing and tidying cut ends.
- Round-nose pliers — not strictly needed for this project, but useful for easing a band back into shape.
- A ring mandrel — a tapered steel rod marked with UK sizes. A thick marker pen will get you a rough first ring, but not a wearable one.
For materials you need roughly 35 cm of round wire and a single bead. You'll also want a fine needle file or a nail file to smooth the cut ends, because those ends finish up against your skin.
Choosing a Bead and Wire That Behave
A round bead of 6–8 mm is the sweet spot: big enough to look deliberate, small enough not to overpower a thin band. Check the hole before you buy it. You want at least 1 mm of clearance, and you want the edges of the hole to feel smooth. Some inexpensive stone and glass beads have rough, gritty holes that will chew through wire over a few weeks of wear. A few passes with a needle file usually sorts it.
For wire, 22 gauge (about 0.6 mm) is the easiest starting point; 20 gauge (0.8 mm) makes a sturdier band but takes more hand strength to wrap neatly. Choose dead-soft if you want the wire to bend willingly, or half-hard if you'd rather it held its shape after forming. Copper and brass are cheap to practise with and will darken over time; sterling silver and gold-filled wire cost more but stay bright far longer.
One practical note: if your skin has reacted to jewellery before, the culprit is often nickel in plated or base-metal wire. Sterling silver, gold-filled and niobium are generally gentler choices. If a ring irritates your skin, stop wearing it.
Getting the Size Right
Measure the finger you'll wear the ring on, not a finger you think is similar. Do it at the end of the day, when your hands are warm and slightly swollen — a ring that fits at 8am can feel tight by evening. UK sizes run A to Z; a jeweller's ring sizer or a mandrel will give you the letter straight away.
Two things matter more than usual here. First, the band must clear your knuckle, so a ring that sits comfortably at the base of the finger may still not go on. Second, this ring is top-heavy: the bead sits above the band and adds no thickness to the shank, so you size the band exactly as you normally would. If you're between sizes, go with the smaller one for a thin band like this — you can always open it slightly.
The Wrap: A Pattern You Can Repeat
This is the whole technique. Everything else is a variation on it.
- Cut a 35 cm length of wire. Smooth both cut ends with a file so they don't snag.
- Slide the bead onto the middle of the wire.
- Bend both tails down so they run side by side, touching, just below the bead. You now have a small loop of doubled wire with the bead sitting on top.
- Hold the doubled wire against the mandrel at your size mark, with the bead resting on top of the rod. Pin the bead down with your thumb.
- Wrap both tails around the mandrel, keeping them parallel and snug, until they come back to the point where they started.
- Cross the two tails over each other at the stem and pull gently to close the loop. The bead should now sit on top of a closed circle.
- Take the left tail and coil it downwards around the doubled stem — three or four tight turns, each one pushed up against the last with your thumbnail.
- Take the right tail and coil it upwards over those turns, three or four more, so the wires cross neatly in the middle beneath the bead.
- Trim both tails to about 1 mm and press the cut ends flat against the coil with your chain-nose pliers.
Slide the ring off the mandrel and try it on. If it needs a nudge, put it back on the mandrel and press evenly with your fingers rather than yanking at it with pliers.
When It Goes Wrong
Most first rings fail in one of four ways, and all four are quick to fix.
The bead spins or slides. Your coil isn't tight enough, or the hole is much wider than the wire. Moving up to 20 gauge usually solves it, or thread a small seed bead on each side of the main bead as a stopper.
The coils look loose and uneven. You're wrapping around the stem instead of pulling each turn tight before starting the next. Stop every turn, pull the tail firmly, and push the coil up against the previous one.
The ring is oval. You pulled harder on one side when you closed the loop. Slide it onto the mandrel and press the narrow sides outwards a little at a time.
The wire has kinked. Bending wire back and forth hardens it, and hardened wire snaps. Bend gently, support the length with your fingers rather than forcing it with
Photo: lshoon2211 / Pixabay